Race Tech app guide
Connect your Zenith lights and learn the controls you’ll use most. Tap any screenshot to see it full size.
Get connected
- Power your installed Zenith light and turn on Bluetooth on your phone. Grant the app Bluetooth or Nearby Devices access when prompted.
- Open Race Tech and sign in with your Race account. From the app’s light connection screen, select your light and follow its prompts.
- Confirm the light shows as connected. While parked, try a low brightness setting in Manual Mode to make sure the intended light responds.
If a light doesn’t appear, check its power, stay within Bluetooth range and confirm app permissions. Screen names and available controls vary by version and light. If you have the older Race Lights iOS app or need help with a claim prompt, contact Race.
Use the Home screen
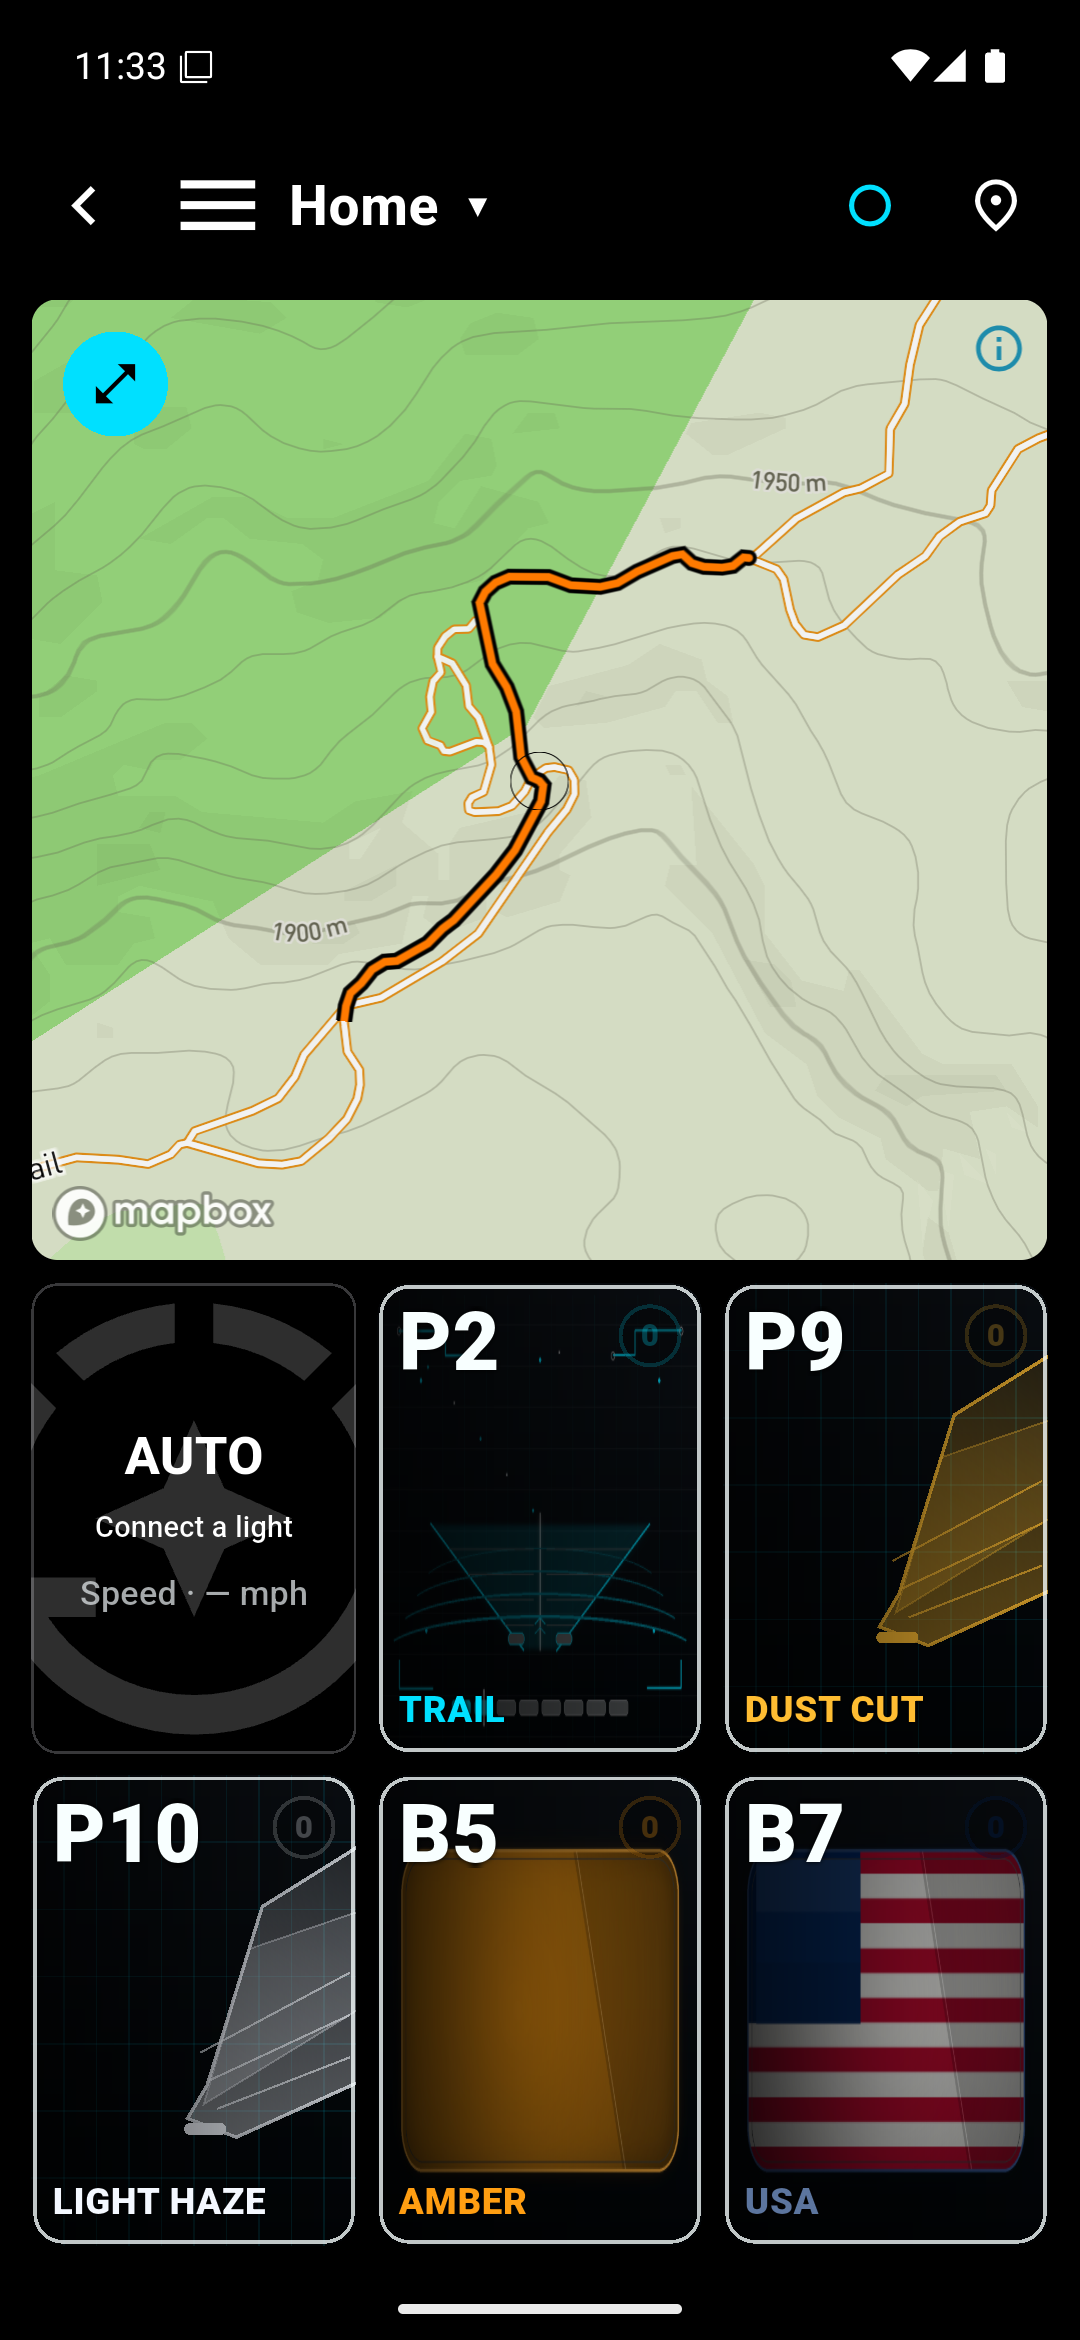
- Open Home from the app menu. The map and your six shortcut tiles are on the same screen.
- Tap a tile such as Trail, Dust Cut, Light Haze or Amber to select that look. Use the USA tile to apply the flag backlight preset on a compatible light.
- Use the map’s location control to return to your position. Allow location access when you want the map to show your position. The illustrated route is sample tracking data.
Set brightness and output color
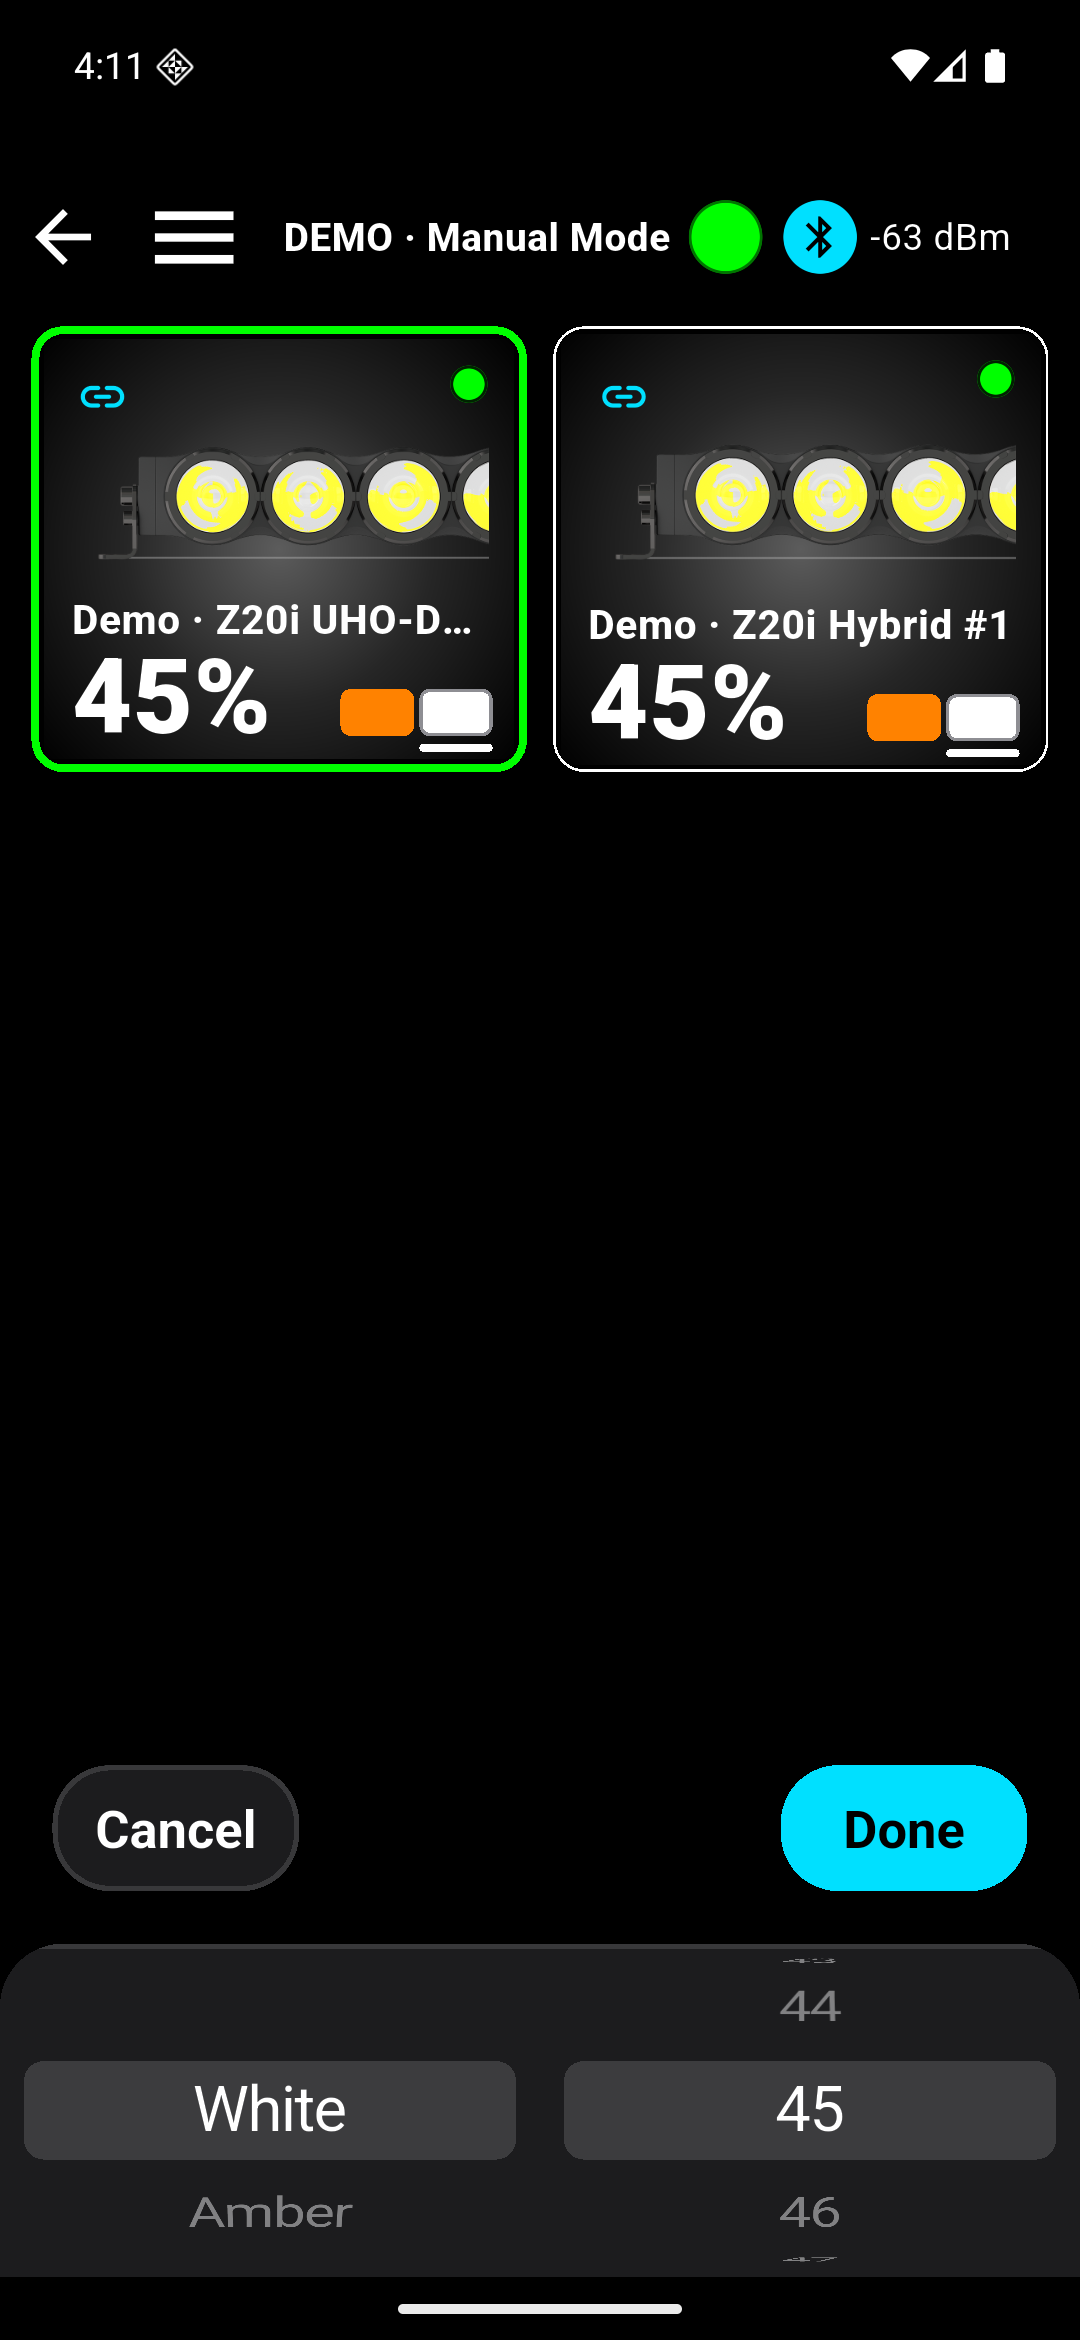
- Open Manual Mode from the app menu. Confirm that the light you want is connected before adjusting it.
- Tap the light’s card to open its output controls. Pick a supported color and set the percentage, then tap Done.
- Use All On or All Off at the bottom of Manual Mode when you want to switch the whole connected setup together.
Change the backlight
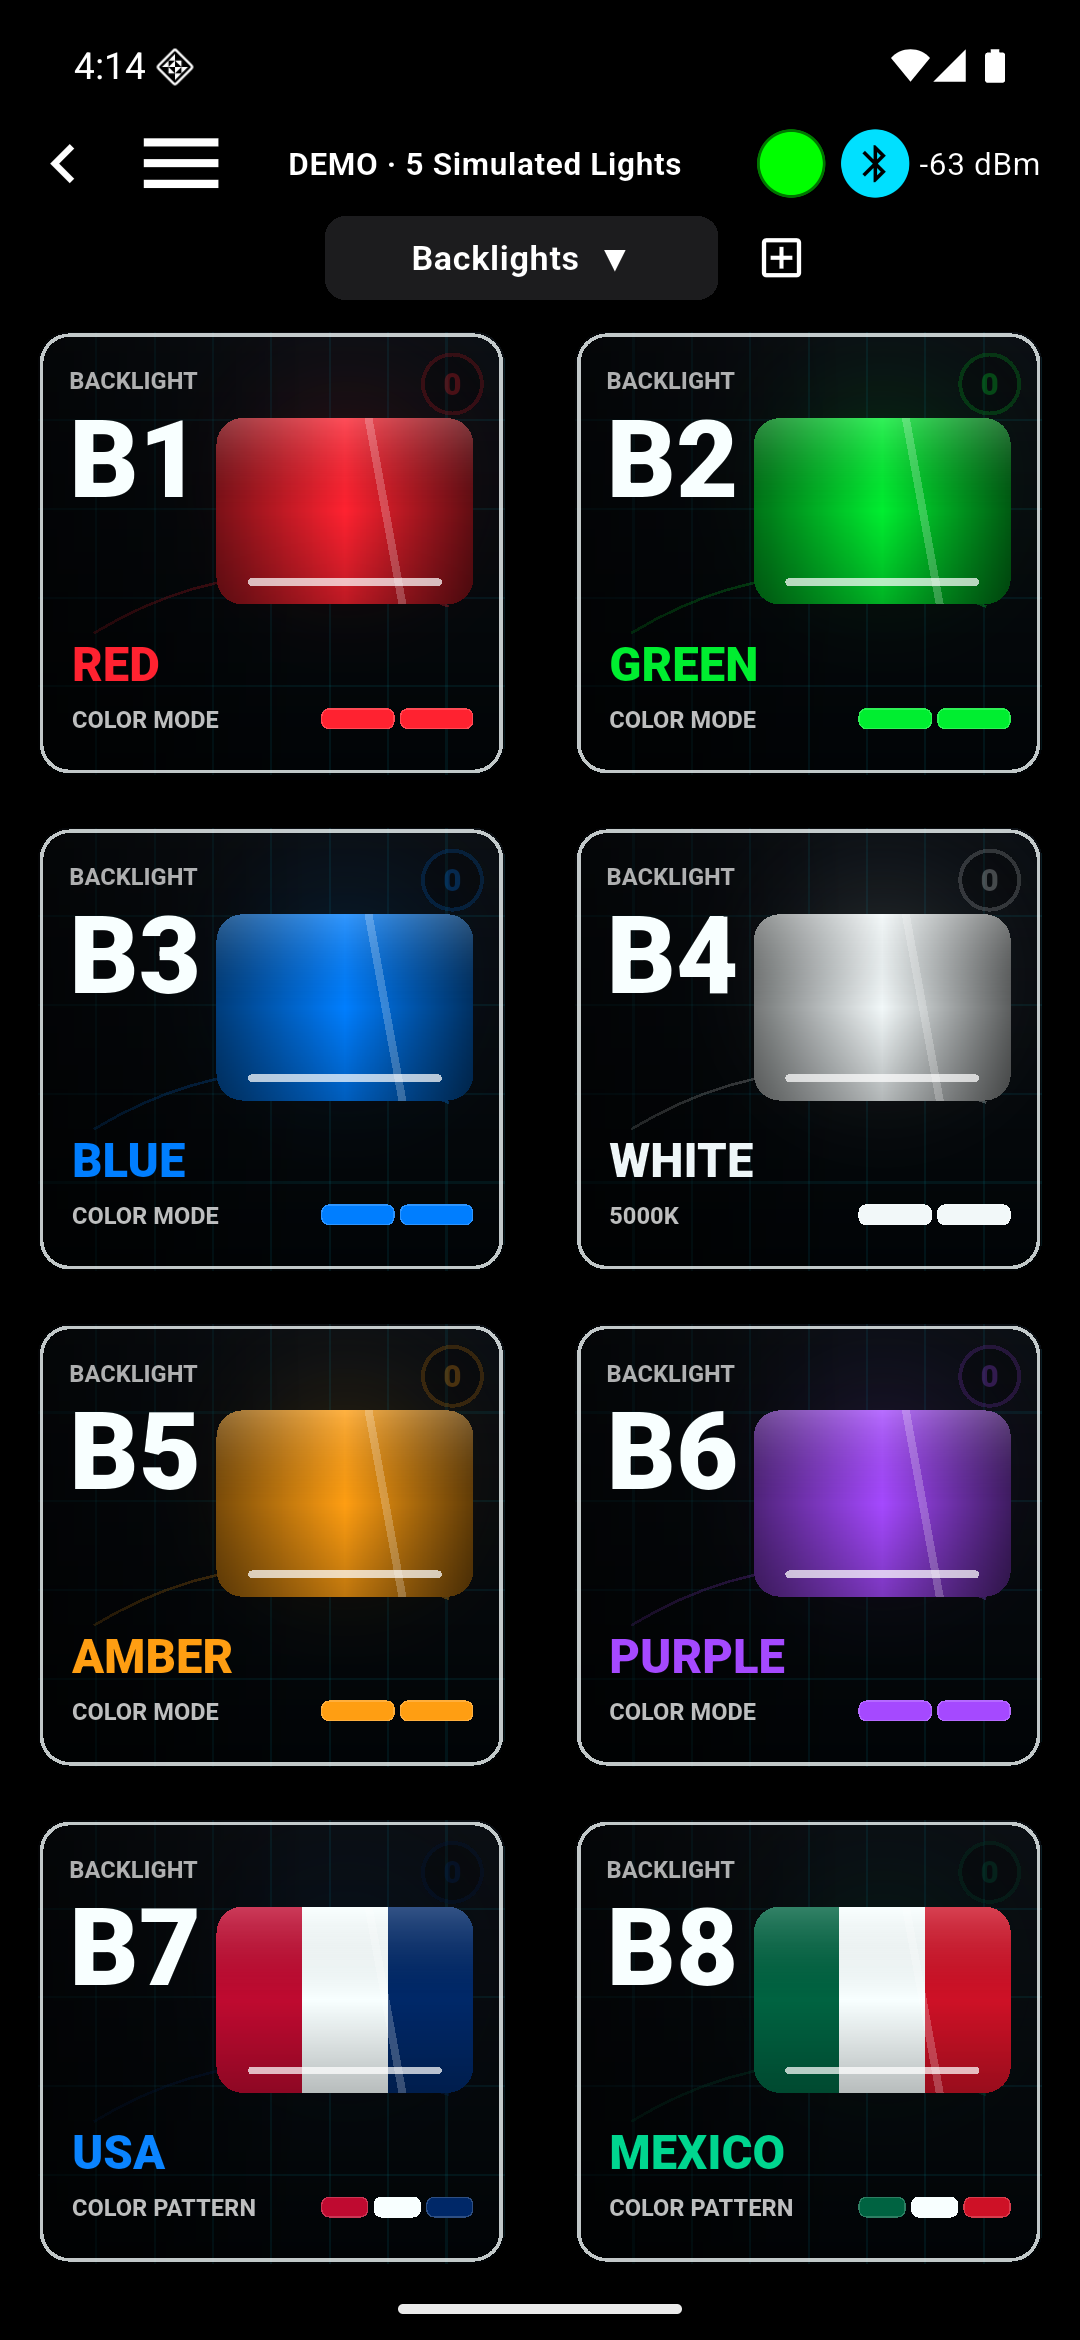
- Open the presets view and choose Backlights from the category menu.
- Tap a solid color such as Amber or White, or select the USA or Mexico flag pattern. You can switch looks whenever the light is connected.
- Backlights work independently of the main driving output. They require a light built with the backlight option.
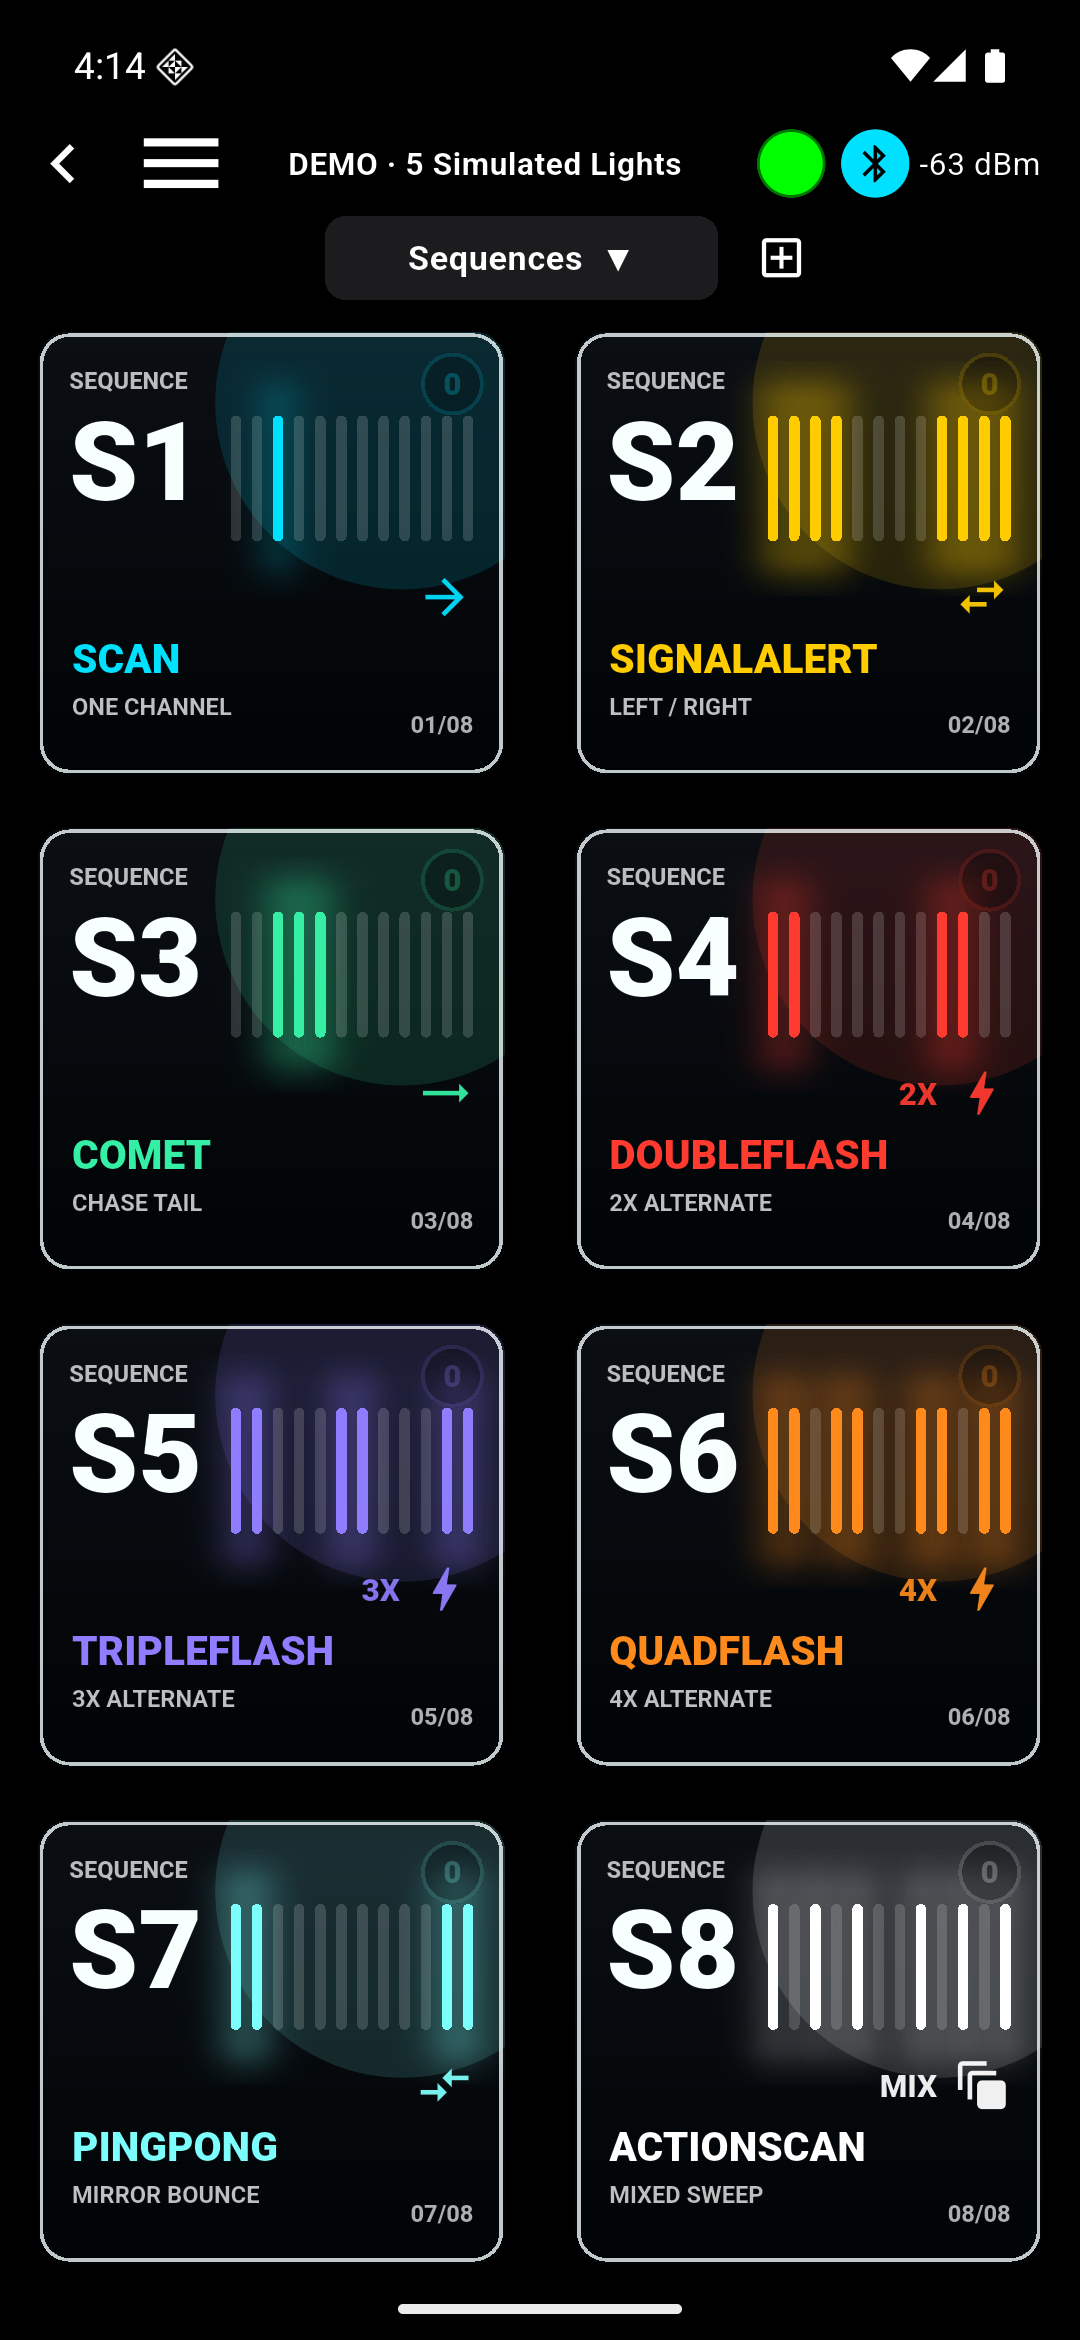
Try a ready-made sequence
- In the presets view, choose Sequences from the category menu.
- Select the pattern you want to preview. For everyday trail use, return to Home and choose your normal driving preset.
- Review the effect while parked and use flashing patterns only where permitted.
Advanced features Home layout, power limits and Speed AUTO
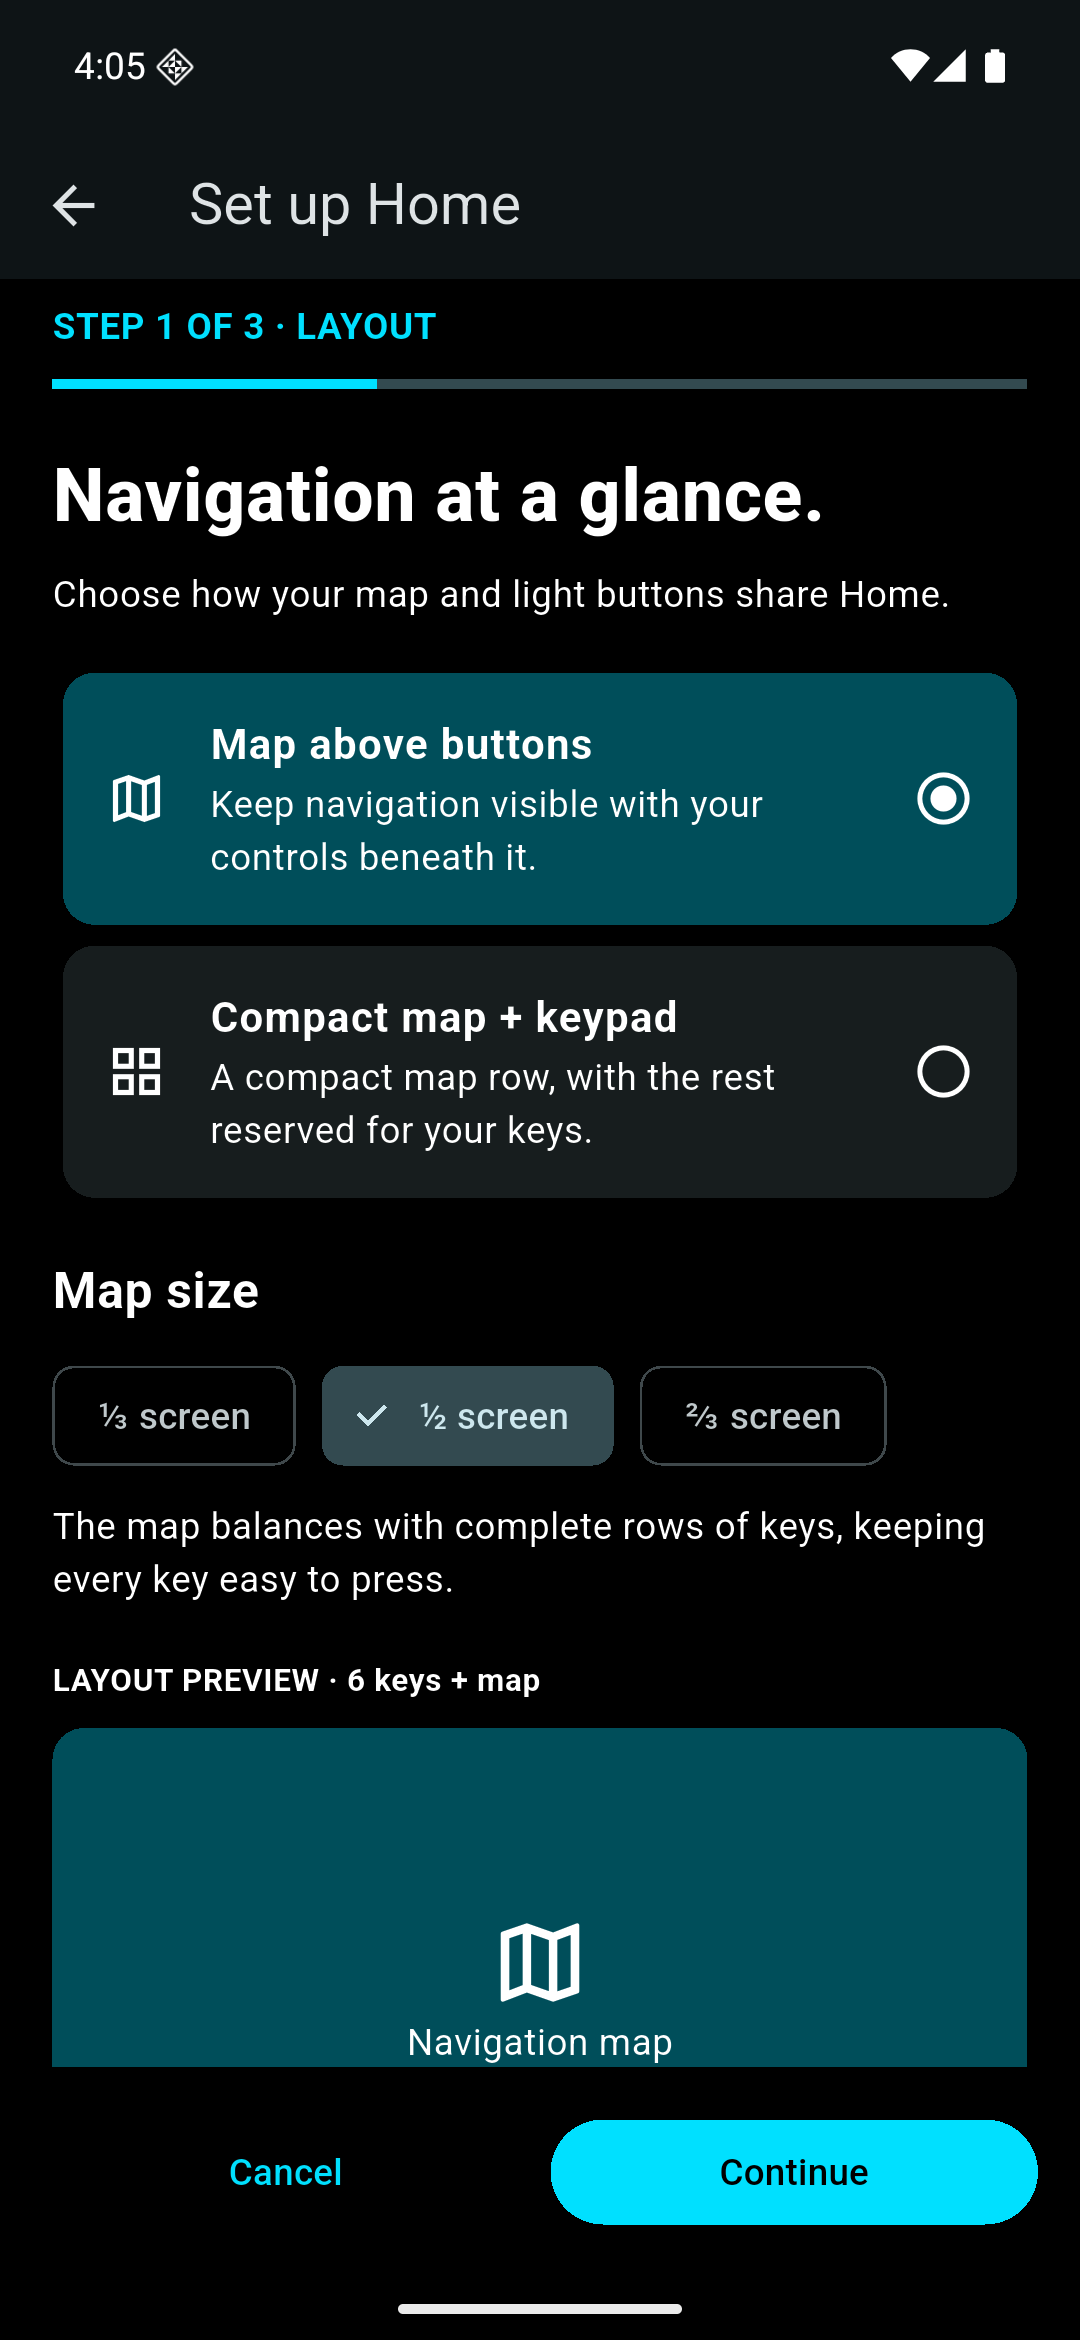
Change the Home layout
- Open Set up Home. In Layout, choose Map above buttons for the full map and shortcut layout, or Compact map + keypad for more controls.
- Select a map size and check the layout preview. Tap Continue to review the rest of your Home setup.
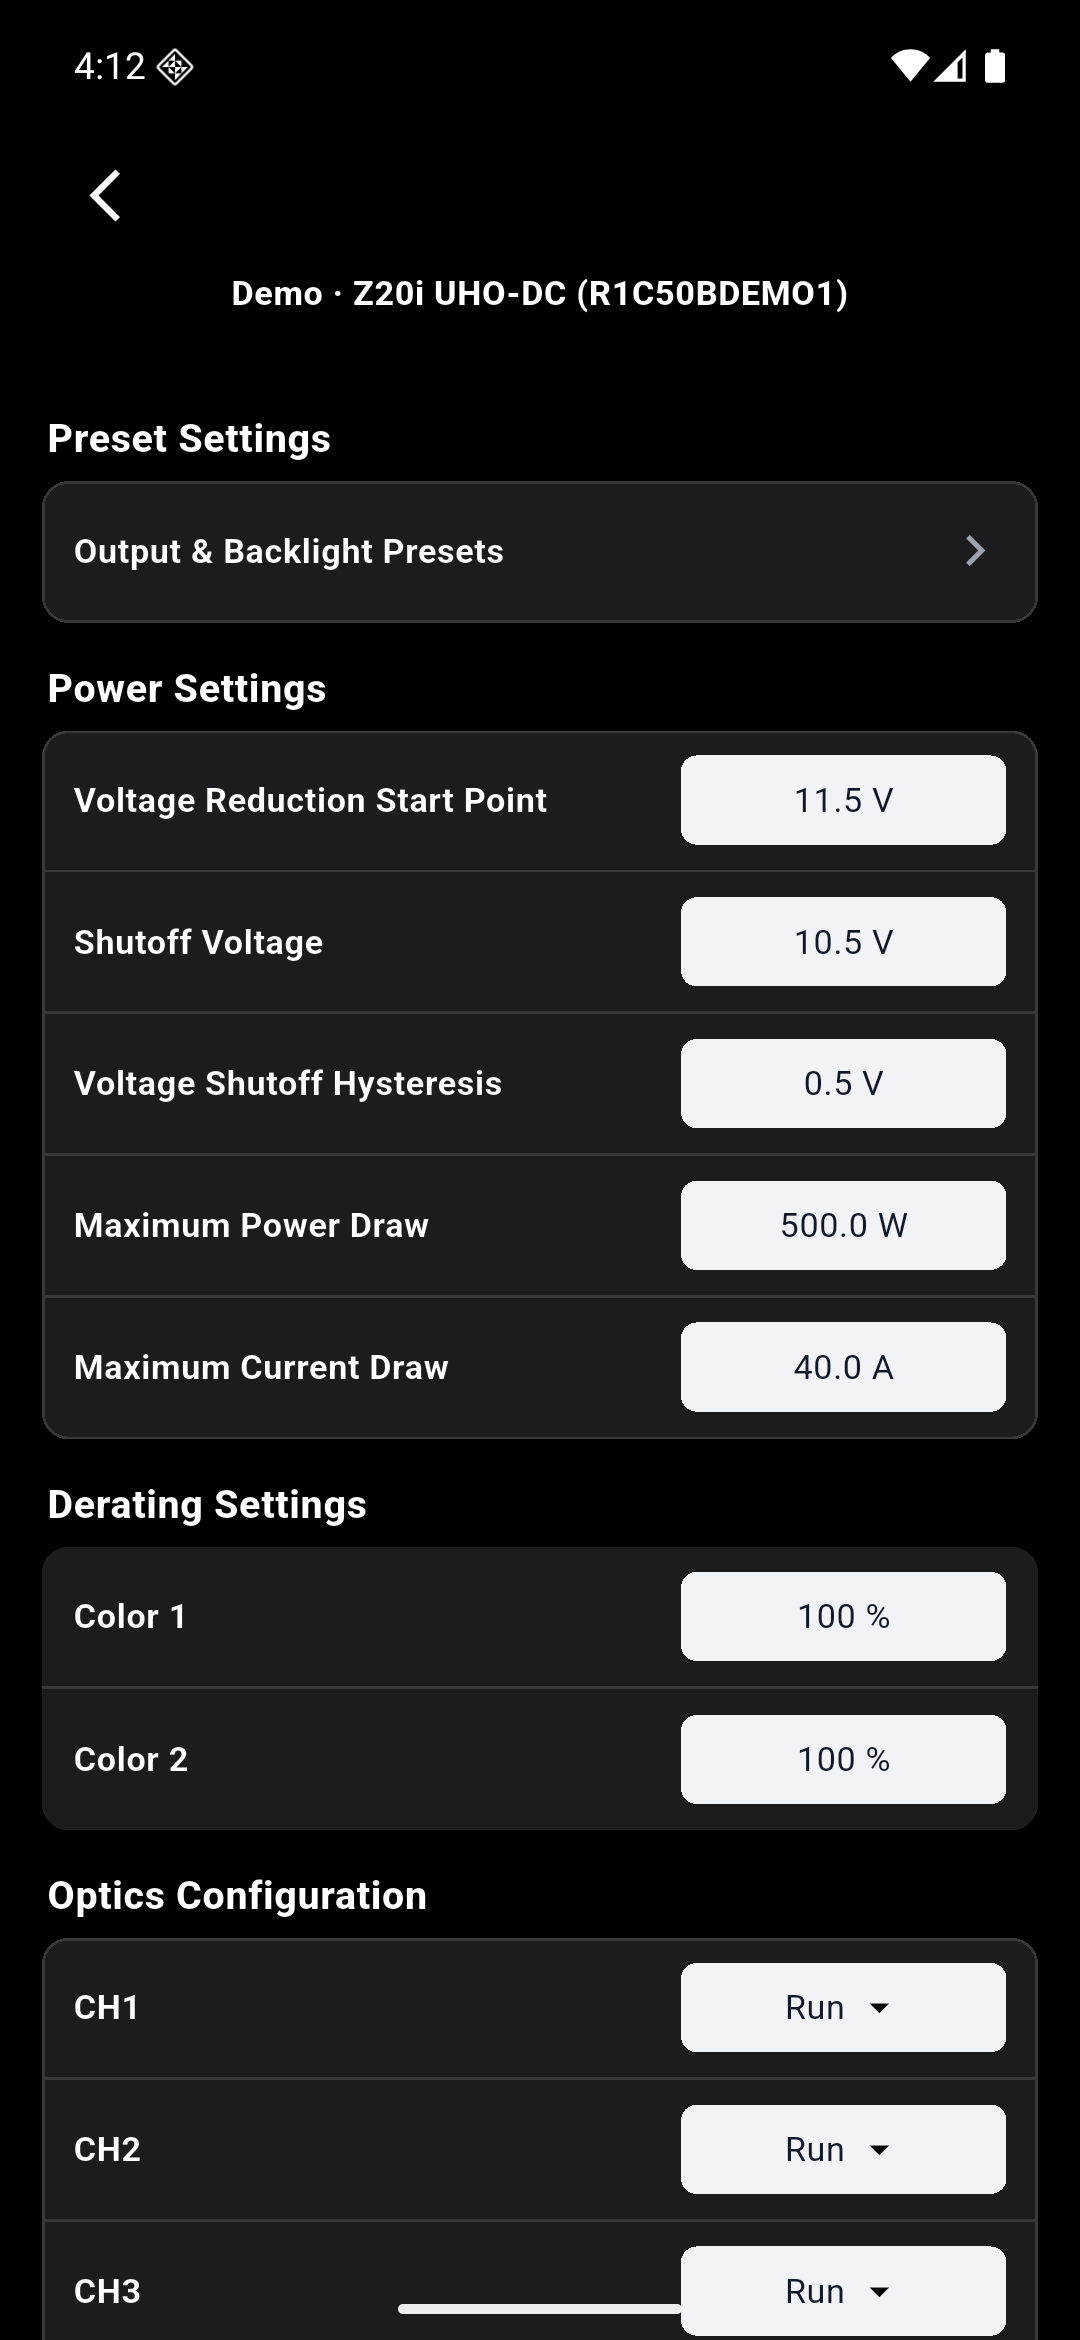
Set a limit for your installation
- Open the settings for the light you’re configuring and find Power Settings.
- Use Maximum Power Draw and Maximum Current Draw to enter the limits appropriate for your wiring and vehicle supply. Review the values for each light in a multi-light setup.
- Leave factory voltage and derating settings as supplied unless Race has provided settings for your exact hardware. The 500 W and 40 A figures in the screenshot are demo values.
Review a Speed AUTO profile
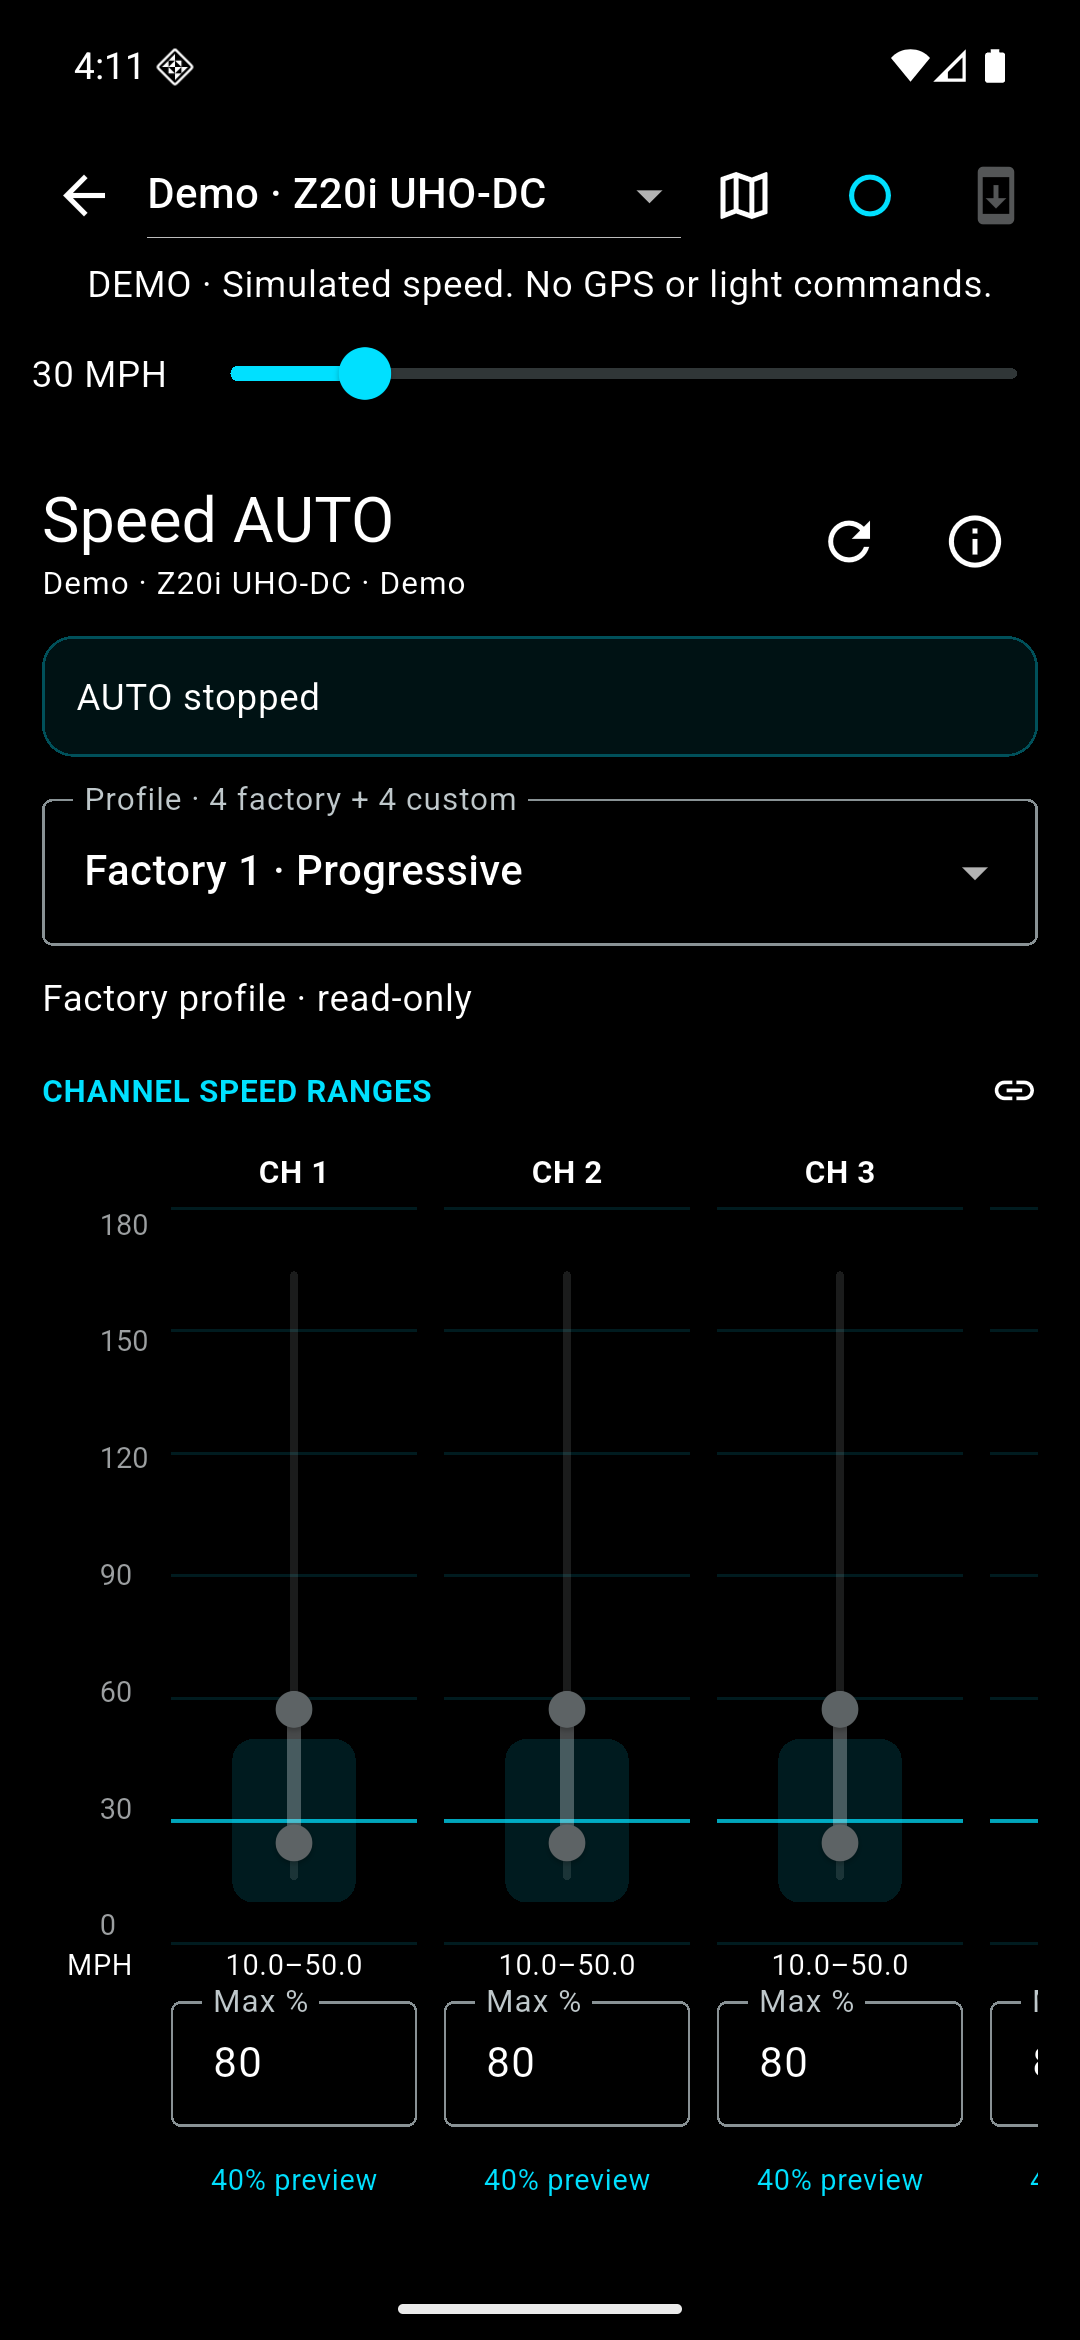
- Open the light’s Speed AUTO screen. Select the intended light and check the profile name before making changes.
- Choose a factory profile to start. The channel chart shows how output can change across the speed ranges. Factory profiles are read-only in the example.
- Use Demo Mode to explore the speed slider and preview changes while parked. Use the installed app’s controls for your light and software version when setting up a real profile.